


SiLA 2 Introduction
SiLA stands for Standardization in Lab Automation. The mission of SiLA is to create an international, open connectivity standard in lab automation. It is is a communication standard for laboratory instruments, such as readers, liquid handling robots, chromatography and other analytical equipment. You can find more information about SiLA on the official SiLA website or in this interesting blog post about SiLA.
The CETONI SiLA 2 drivers can be found in the sila directory of this SDK. These SiLA 2 drivers are based on the CETONI SDK for Python in order to control the devices.
Supported Devices
The following devices are currently supported by the CETONI SiLA2 drivers:

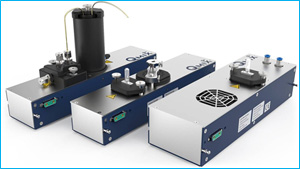
| CETONI Nemesys Syringe Pumps |
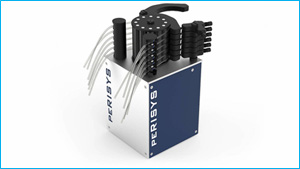
| CETONI Nemesys Tubing Pumps |

| CETONI Stirring Systems |
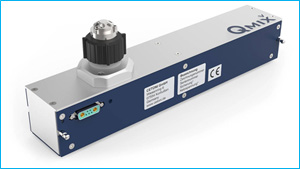
| CETONI Valves |
| CETONI Reaction Modules |
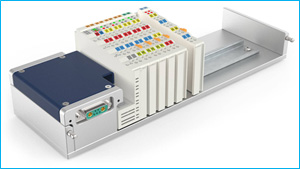
| CETONI I/O Modules |
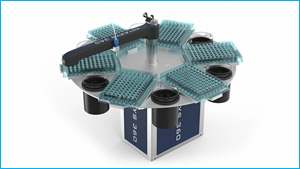
| CETONI Sample Handlers |
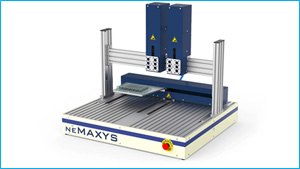
| CETONI Positioning Systems |
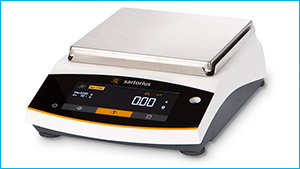
| Sartorius Balances |

| Sartorius Pure Water Systems |
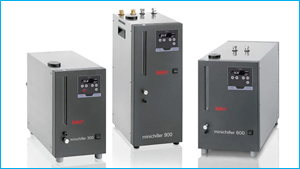
| Huber Chillers |
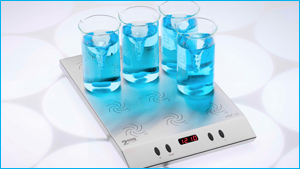
| 2mag Magnetic Stirrers |
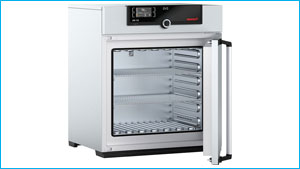
| Memmert Ovens |
Installation
- Note
- These SiLA 2 drivers were developed and tested under Windows and Linux (Ubuntu 19.04 and Raspbian Buster on a Raspi 3B+) and are therefore expected to work on these systems. Other operating system should work as well, but have not been tested yet!
Install the sila_cetoni package on Windows with
or on Linux with
It is recommended to use a virtual environment to not interfere with anything in your system's environment. This will install all Python dependencies for sila_cetoni most notably sila_python as well as sila_cetoni itself. This means you can not only use the provided console script to run your CETONI device configurations but also build upon the SiLA 2 implementations and build you own applications.
Installing CETONI SDK
If you would like to use the CETONI SiLA 2 drivers to control CETONI devices, then you need to install the CETONI SDK with Python Integration.
For instructions on how to install the CETONI SDK for Python on your system and get a valid device configuration for your devices see the CETONI SDK Documentation. On Linux be sure to also install the correct SocketCAN driver (either SysTec or IXXAT depending on your CETONI base module).
- Note
- The CETONI SDK is not strictly necessary any more if you only use sila_cetoni to control non-CETONI devices!
Creating a device configuration
- Note
- If your system contains any CETONI devices you always need a valid CETONI device configuration created with the CETONI Elements software in order to use sila_cetoni. If you only want to control a Sartorius balance, for example, you don't need a CETONI device configuration. In any case you need a sila_cetoni device configuration.
Starting from version v1.2.0, sila_cetoni uses a device configuration concept similar to the device configurations you can create with the CETONI Elements software. sila_cetoni's device configuration consists of a single JSON file that describes all the devices you want to have SiLA 2 server for.
The basic structure of this configuration file looks as follows:
This file says that you have no third-party devices and that you want to use the CETONI device configuration located at C:/CETONI_SDK/config/testconfig_qmixsdk.
As you can see, you still need the CETONI device configuration created with CETONI Elements in order to create SiLA 2 servers for these devices.
Now, if you want to add devices from other vendors that are also supported by sila_cetoni, you need to add these like this:
Each device is defined in its own object and needs at least the type and manufacturer properties. Depending on the device you might also need additional properties, e.g. a serial port as shown here with the balance. The name of the property that is used to define a device is used later as the name of the SiLA 2 server that gets created for this device, i.e. the SiLA 2 server created in this example would have th name Sartorius Balance.
You can add as many devices as you like in the devices object, e.g. if you have two balances you might have the following configuration:
- Note
- The
$schemaproperty is not strictly necessary but VS Code can use that to provide some help when writing the configuration file. sila_cetoni will use that schema to validate that the configuration file you provide is correct regardless of whether$schemais present or not.
In addition to defining the devices you want to use you can also override most of the command line options that sila-cetoni accepts. That way you can persistently store the options to use with each configuration you create.
The following shows a complete configuration file with all options set to their default values:
See the CLI options reference below for mor information about what the individual options do.
Testing Demo Configuration
To quickly test if the installation works properly, you can run the sila-cetoni script with the provided demo configuration with simulated devices. The demo configuration is located in path\to\CETONI_SDK\config\testconfig_qmixsdk.
Simply create a file called sila-demo.json, for example, with the following content. Just be sure to change the path to the testconfig_qmixsdk folder so that it uses your CETONI SDK installation.
The you can run the demo with following command on Window, for example:
Running SiLA 2 servers
- Note
- If your system contains any CETONI devices you always need a valid device configuration created with the CETONI Elements software in order to use SiLA driver. Read the Getting Started section of the CETONI SDK documentation to learn how to create a device configuration. If you only want to control a Sartorius balance, for example, you don't need a device configuration.
Running the corresponding SiLA 2 servers for your system is always done through the sila-cetoni console script that gets installed by pip.
Simply run the script giving it the path to the CETONI device configuration folder as an argument (if necessary):
To se a list of all available command line options run
- Note
- If you have problems running the
sila-cetoniconsole script try running the application via the module syntax:
Also, in case you get the error ModuleNotFoundError: No module named 'qmixsdk' you have to point the script to the correct location of the CETONI SDK. This can easily be done by setting the CETONI_SDK_PATH environment variable before calling sila-cetoni.
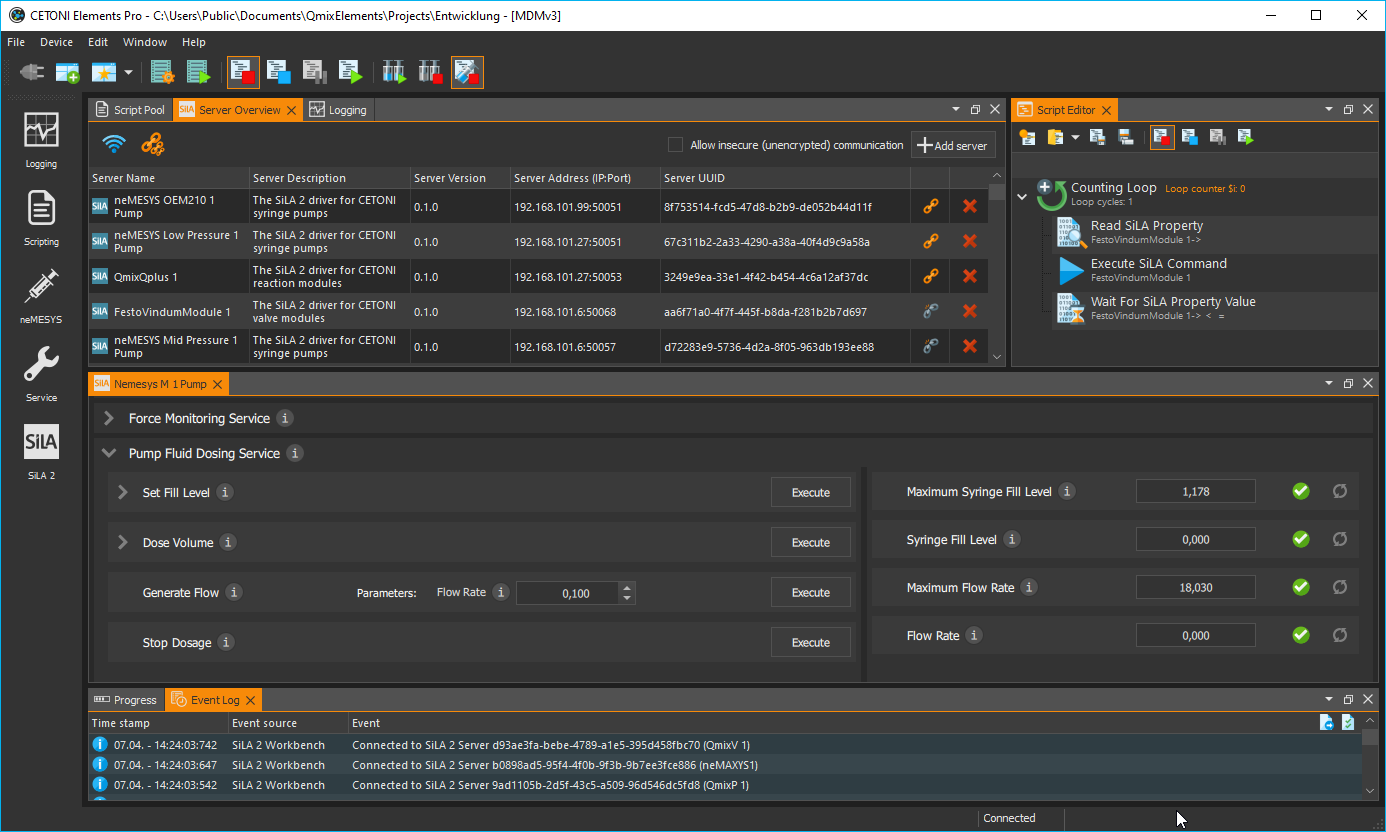
You can play around with the servers and their features by using the freely available SiLA Browser or you can write your own SiLA Client software using the Python or any other of the reference implementations of SiLA 2. If you use the CETONI Elements software, then you can control and automate all your SiLA devices easily using the CETONI Elements SiLA Add-on.
sila-cetoni CLI options reference
The following table shows all available CLI options that the sila-cetoni console script (or the sila_cetoni.application.__main__ module) understands:
| CLI option | Config file option | Default value | Possible values | Description |
|---|---|---|---|---|
-h, --help | – | – | – | Description |
-v, --version | – | – | – | Description |
-l, --log-level LEVEL | "log_level": "LEVEL" | "info" | "debug", "info", "warning", "critical", "error" | The log level of the application |
--log-file-dir DIR | "log_file_dir": "DIR" | empty | any file system directory path | The directory to write log files to (if not given log messages will only be printed to standard out) |
-i, --server-ip IP | "server_ip": "IP" | the localhost's IP address | any valid IP address | The IP address on which the servers should run |
-p, --server-base-port PORT | "server_base_port": PORT | 50051 | any valid port number (positive integer up to 65535) | The port number for the first SiLA Server |
--regenerate-certificates | "regenerate_certificates": true\|false | not specified/false | true, false | Force regeneration of the self-signed certificates (e.g. if the IP address of the machine running the servers changed) - not recommended to be set in the configuration file as this would mean that each time the servers are started they will get a new certificate which could lead to potential problems for clients wanting to connect to these servers |
--scan-devices / --no-scan-devices | "scan_devices": true\|false | --no-scan-devices/false | true, false | Automatically scan for supported connected devices (e.g. scan for available Sartorius balances if the sila_cetoni_balance package is installed) |
Troubleshooting
'undefined symbol: __atomic_exchange_8' on Raspberry Pi
You might get the following error when trying to run the driver on a Raspberry Pi:
This is a known bug in gRPC (https://github.com/grpc/grpc/issues/20400) and there exists a workaround, too (https://github.com/opencv/opencv/issues/15278#issuecomment-520893950): This workaround is already included in sila_cetoni/application/__init__.py:
Modifying the drivers
You are, of course, free to play around with the code inside this repository. The implementation files have been generated using the sila-codegen script that comes with sila_python.
Refer to its documentation to see how to add and update existing feature implementations.
This repository uses a separate python package for each Feature Category, e.g. all SiLA Features of the 'de.cetoni/pumps.syringepumps' category are implemented in the sila_cetoni.pumps.syringepumps package.
Adding new Features for other devices
If you want to add new Features for your own devices, for example, refer to the Adding-Features.md file in the 'sila' subdirectory.